When your car’s air conditioning system starts blowing warm air or making strange noises, it might be time for a thorough cleaning. Flushing your car’s A/C system at home can save you hundreds of dollars in repair costs. The automotive experts at Our Auto City understand that proper maintenance is key to keeping your vehicle running smoothly. This comprehensive guide will walk you through the entire process of flushing your car’s A/C system safely and effectively.
Before diving into any major A/C repairs, it’s essential to understand what to do before replacing an compressor in a car diy. Proper preparation and system flushing can often resolve issues without the need for expensive component replacement. Additionally, a clean system ensures that any new parts you install will function optimally and last longer.
A properly functioning A/C system relies on clean refrigerant lines and components. However, over time, contaminants, oil residue, and debris can accumulate throughout the system. Therefore, regular flushing helps maintain peak performance and prevents costly breakdowns.
Understanding Your Car’s A/C System
Your vehicle’s air conditioning system consists of several interconnected components. The compressor pressurizes refrigerant and circulates it through the system. The condenser removes heat from the refrigerant, while the evaporator absorbs heat from inside your car. Additionally, the expansion valve controls refrigerant flow, and the accumulator or receiver-drier removes moisture and debris.
These components work together to create the cooling effect you experience. However, when contamination occurs, the entire system’s efficiency decreases significantly. Therefore, understanding each component helps you flush the system more effectively.
Signs Your A/C System Needs Flushing
Several warning signs indicate your A/C system requires flushing. Warm air blowing from vents is the most obvious symptom. Additionally, unusual noises from the compressor or reduced cooling efficiency suggest internal contamination.
Other indicators include visible debris in refrigerant lines or a musty odor when running the A/C. Furthermore, if your system has experienced component failure, flushing becomes essential before installing replacement parts. According to Consumer Reports, neglecting A/C maintenance can lead to complete system failure and costly repairs.
Tools and Materials Needed
Before starting your A/C flush, gather all necessary tools and materials. You’ll need A/C flush solvent, which is specifically designed for automotive systems. Additionally, obtain safety equipment including gloves, safety glasses, and proper ventilation.
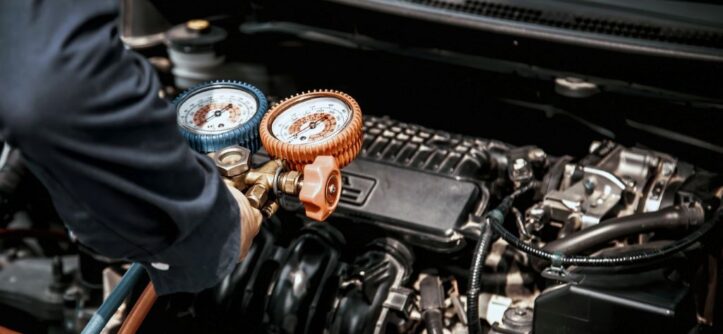
Essential tools include manifold gauges, recovery equipment, and basic hand tools. However, remember that handling refrigerant requires proper certification in many areas. Therefore, consider consulting local regulations before proceeding.
Safety Precautions
Working with A/C systems involves several safety considerations. Refrigerant can cause frostbite if it contacts skin directly. Additionally, proper ventilation prevents inhalation of harmful vapors during the flushing process.
Never attempt to flush a system under pressure. Therefore, always recover refrigerant properly before beginning work. Furthermore, wear appropriate safety equipment throughout the entire procedure.
Step-by-Step Flushing Process
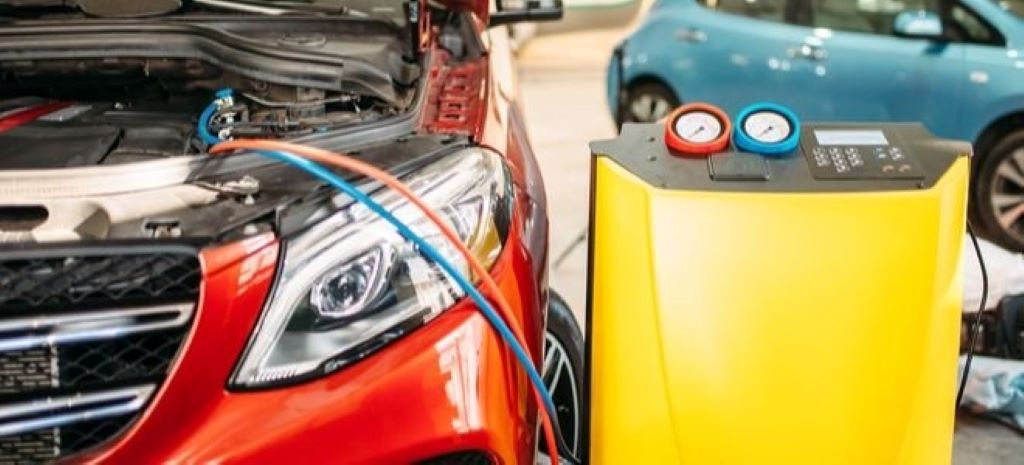
Start by recovering all refrigerant from the system using approved recovery equipment. This step protects the environment and ensures your safety. Additionally, remove the expansion valve or orifice tube to prevent damage during flushing.
Next, disconnect the compressor from the system to avoid forcing contaminants through it. However, if the compressor is being replaced, you can flush through it. Therefore, adapt your approach based on your specific situation.
Connect your flushing equipment to the system’s service ports. Begin with the condenser, as it typically holds the most contamination. Additionally, flush each component separately for thorough cleaning.
Use approved A/C flush solvent and follow manufacturer instructions carefully. However, avoid using harsh chemicals that might damage seals or components. Therefore, stick to automotive-specific products for best results.
Flushing Individual Components
The condenser requires special attention due to its complex internal structure. Connect flushing equipment to both inlet and outlet ports. Additionally, reverse flush direction multiple times to remove stubborn debris.
For evaporators, access can be challenging depending on your vehicle’s design. However, thorough flushing is crucial since this component is difficult to replace. Therefore, take extra time ensuring complete cleaning.
Flush refrigerant lines individually, paying attention to any restrictions or filters. Additionally, replace the accumulator or receiver-drier, as these components cannot be effectively flushed.
Post-Flush Procedures
After flushing, allow all components to air dry completely. This process removes any remaining solvent residue. Additionally, inspect all seals and connections for damage or wear.
Install a new expansion valve or orifice tube, as these components are inexpensive insurance against future problems. Furthermore, replace all O-rings with properly sized components.
Reassemble the system carefully, ensuring all connections are tight and properly sealed. However, avoid over-tightening, which can damage threads or seals. Therefore, use manufacturer-specified torque values when available.
Recharging the System
Begin the recharge process by pulling a deep vacuum on the system. This step removes air and moisture that could damage components. Additionally, monitor vacuum levels to ensure the system holds properly.
Add the correct amount of refrigerant oil based on manufacturer specifications. However, too much oil can reduce system efficiency. Therefore, measure carefully and document the amount added.
Charge the system with refrigerant slowly, monitoring pressures throughout the process. Additionally, check for proper cooling performance once the system is fully charged.
Testing and Verification
Test your newly flushed A/C system thoroughly before considering the job complete. Check outlet temperatures at various fan speeds and temperature settings. Additionally, monitor system pressures to ensure they fall within normal ranges.
Listen for unusual noises that might indicate remaining problems. Furthermore, check for refrigerant leaks at all connections and service points. According to AAA, proper testing prevents future breakdowns and ensures optimal performance.
Maintenance Tips for Long-Term Performance
Regular maintenance extends your A/C system’s life significantly. Run your A/C system monthly, even during winter, to keep seals lubricated and components moving. Additionally, replace cabin air filters regularly to reduce system contamination.
Schedule professional inspections annually to catch problems early. However, basic maintenance like checking refrigerant levels can be done at home. Therefore, develop a routine maintenance schedule for best results.
Conclusion
Flushing your car’s A/C system at home is a challenging but rewarding DIY project. This process removes harmful contaminants and restores system efficiency. Additionally, proper flushing extends component life and prevents expensive repairs.
Remember that safety should always be your top priority when working with A/C systems. Furthermore, don’t hesitate to consult professionals for complex procedures or when local regulations require certification. Therefore, approach this project with patience and attention to detail for the best results.
Frequently Asked Questions
Q: How often should I flush my car’s A/C system? A: Most automotive experts recommend flushing every 3-5 years or whenever major component replacement occurs. However, systems with contamination issues may require more frequent flushing.
Q: Can I use household cleaners to flush my A/C system? A: No, never use household cleaners or solvents in automotive A/C systems. These can damage seals, hoses, and components. Always use approved automotive A/C flush solvents designed specifically for this purpose.
Q: Is it legal to flush A/C systems at home? A: Regulations vary by location, but most areas require proper refrigerant recovery and disposal. Check local environmental regulations before attempting DIY A/C work, as improper handling can result in significant fines.
Q: How do I know if my A/C flush was successful? A: A successful flush results in clear solvent flowing from the system’s outlet. Additionally, the system should cool properly when recharged, and pressures should fall within manufacturer specifications.
Q: What should I do if my A/C system still doesn’t work after flushing? A: If problems persist after flushing, you may have component failure requiring replacement. Check system pressures, inspect for leaks, and consider professional diagnosis to identify the root cause.
Read More:


Leave a Reply