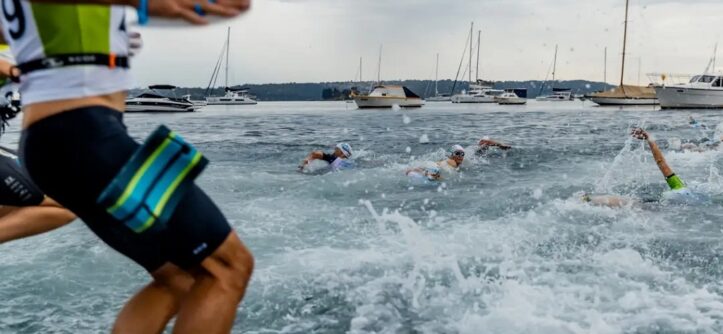
Swimrun is an exciting sport that combines swimming and running in a seamless adventure. Athletes switch between water and land without stopping. Proper gear makes all the difference in this challenging activity. At Swimrun The Riviera, experts share insights on equipment that boosts your experience. Modifying your shoes can enhance comfort and performance during these races. This article explores practical tips to help you get started.
Many swimrun participants face issues with standard running shoes. They often get heavy in water or cause blisters on land. Therefore, customizing your footwear becomes essential. You can make simple changes to improve drainage and grip. Additionally, these adjustments help prevent injuries over long distances.
If you’re wondering how to modify shoes for swim run, start with basic tools like scissors and glue. This approach saves money compared to buying specialized pairs. However, always test modifications before a race. Proper tweaks ensure your shoes handle both wet and dry conditions effectively.
Understanding Swimrun and Shoe Needs
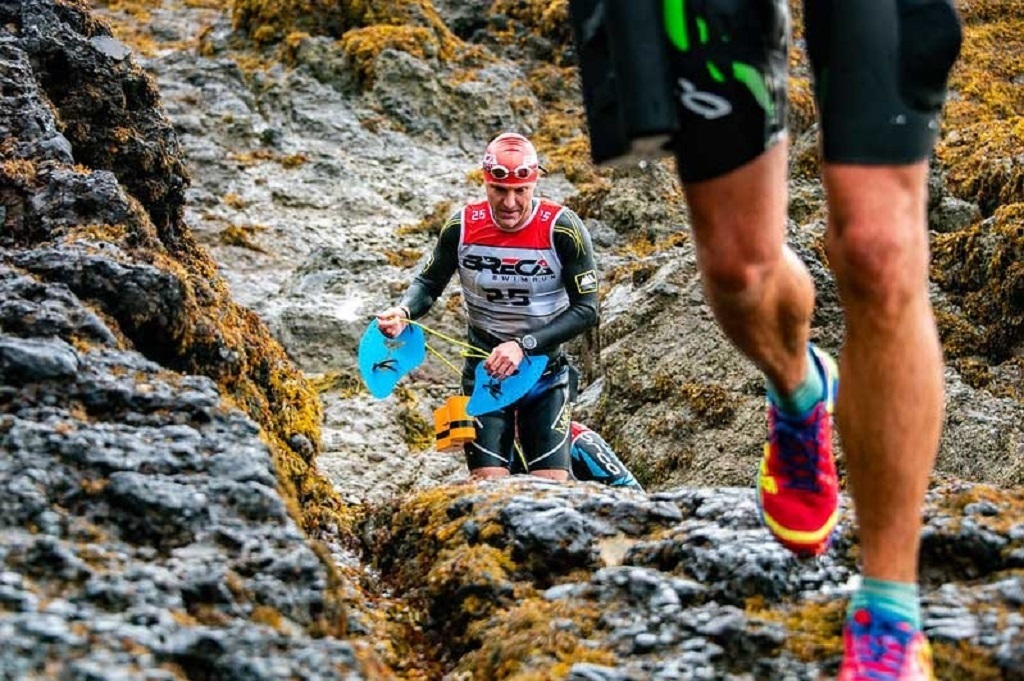
Swimrun events take place in natural environments like lakes, trails, and coasts. Participants wear the same gear throughout. Shoes must be lightweight yet durable. Standard trainers work for running but falter in water. They absorb moisture and slow you down.
Moreover, swimrun shoes need good traction on slippery rocks. Cushioning protects feet during transitions. Without proper modifications, discomfort arises quickly. Blisters and chafing ruin the fun. Thus, learning to adapt your shoes is key for beginners and pros alike.
Consider the terrain in your races. Rocky paths demand sturdy soles. Sandy beaches require quick-drying materials. Analyze your needs first. This step guides effective changes.
Why Modify Shoes Instead of Buying New Ones?
Buying swimrun-specific shoes costs a lot. Prices range from $100 to $300. Modifications offer a budget-friendly alternative. You can transform old running shoes into swimrun stars.
Additionally, custom tweaks fit your unique foot shape. Store-bought options might not. Personalization boosts comfort during hours of activity. However, modifications require some DIY skills. If you’re new, start small.
Safety matters too. Poor changes could lead to slips or injuries. Always prioritize quality materials. This ensures longevity and reliability.
Selecting the Best Base Shoes for Modification
Choose shoes with mesh uppers for breathability. These allow water to escape easily. Avoid heavy leather or synthetic fabrics. They trap moisture inside.
Look for flexible soles. Rigid ones hinder swimming efficiency. Trail running shoes often make great bases. Brands like Salomon or Hoka provide solid options.
Furthermore, check the size. Swimrun involves wet feet that swell slightly. Opt for half a size larger. This prevents tightness during races.
Test shoes in water before modifying. Walk in a pool or lake. Note any issues like poor drainage. This informs your customization plan.
Essential Modifications for Better Comfort
Comfort is crucial in swimrun. Start by improving drainage. Cut small holes in the sides of your shoes. Use a sharp knife for precision. Space them evenly for best results.
Next, add padding where needed. Insert foam insoles for cushioning. These absorb shocks on land. Glue them securely to avoid shifting.
However, don’t overdo it. Too much padding adds weight. Balance is key. Additionally, reinforce seams with waterproof tape. This prevents tearing in rough conditions.
Consider lacing techniques. Use elastic laces for quick adjustments. They stay put during swims. This simple change saves time in transitions.
Performance-Boosting Tweaks for Swimrun Shoes
Performance modifications focus on speed and efficiency. Trim excess material from the tongue and collar. This reduces drag in water. Be careful not to cut too much.
Install better grips on soles. Glue rubber studs for traction. These help on wet surfaces. Alternatively, use sandpaper to roughen smooth areas.
Moreover, apply hydrophobic coatings. These repel water from fabrics. Your shoes dry faster on land. Products like silicone sprays work well.
Test these tweaks in training. Run and swim short distances. Adjust based on feedback. This ensures optimal performance.
Step-by-Step Guide to Modifying Your Shoes
Gather tools first. You’ll need scissors, glue, tape, and a marker. Work in a well-lit area.
Step one: Clean your shoes thoroughly. Remove dirt and dry them completely. This helps adhesives stick better.
Step two: Mark areas for drainage holes. Aim for the midsole sides. Cut small slits about 1 cm long.
Step three: Reinforce the interior. Add mesh patches if needed. Glue them inside for support.
Step four: Enhance the outsole. Attach grip elements securely. Let everything dry overnight.
Step five: Test in water. Wear them for a short swimrun session. Make final adjustments.
Follow these steps carefully. Patience leads to better results. If unsure, watch online tutorials for visual guidance.
Common Mistakes When Modifying Shoes
Many people cut too many holes. This weakens the shoe structure. Limit to 4-6 per side.
Another error is using wrong glue. Choose waterproof types only. Regular adhesives fail in moisture.
Additionally, ignoring foot anatomy causes problems. Modifications should align with your arch and heel.
Forgetting to break in modified shoes is common. Wear them gradually. This avoids blisters on race day.
Learn from these pitfalls. They save time and frustration.
Maintenance and Care for Modified Shoes
Proper care extends shoe life. Rinse them after each use. Remove salt and mud promptly.
Dry in shade. Avoid direct sun to prevent cracking. Store in a cool place.
Inspect regularly. Check for loose parts or wear. Repair early to avoid bigger issues.
Furthermore, rotate pairs if possible. This gives each time to recover. Clean insoles separately for hygiene.
Good maintenance keeps modifications effective. Your shoes perform better longer.
Advanced Modifications for Experienced Athletes
For pros, consider weight reduction. Remove unnecessary logos or straps. This shaves grams off.
Add flotation aids. Small foam pieces help in deep water. However, ensure they don’t affect running.
Experiment with colors. Bright hues improve visibility in teams. Reflective tapes add safety at dusk.
These advanced tweaks require practice. Start simple before going complex.
Consult communities online. Forums share user experiences. Learn from others’ successes and failures.
Read More Also: Creative Ways to Get Kids to Take Their Daily Dose
Conclusion
Modifying shoes for swimrun enhances comfort and performance. Start with basic drainage and grip improvements. Choose the right base shoes and avoid common mistakes. Use quality materials for lasting results. Maintenance keeps them in top shape. These tips help you tackle swimrun challenges with confidence. Whether beginner or expert, customized footwear makes a big difference. Dive into modifications today for better races tomorrow.
Read More Also: Cost of a Single Wide vs Double Wide
Frequently Asked Questions
What tools do I need to modify shoes for swimrun?
Basic tools include scissors, waterproof glue, tape, and a marker. Advanced tweaks might require sandpaper or rubber studs.
How long does it take to modify a pair of shoes?
Simple modifications take 1-2 hours. Allow drying time overnight. Testing adds another session.
Can I modify any running shoes for swimrun?
Trail shoes with mesh uppers work best. Avoid heavy or non-breathable models for optimal results.
Are modified shoes as good as specialized swimrun shoes?
They can be comparable if done right. However, professionals might prefer dedicated pairs for elite performance.
How do I know if my modifications are successful?
Test in water and on land. Look for good drainage, comfort, and no slipping. Adjust based on feel.


Leave a Reply